

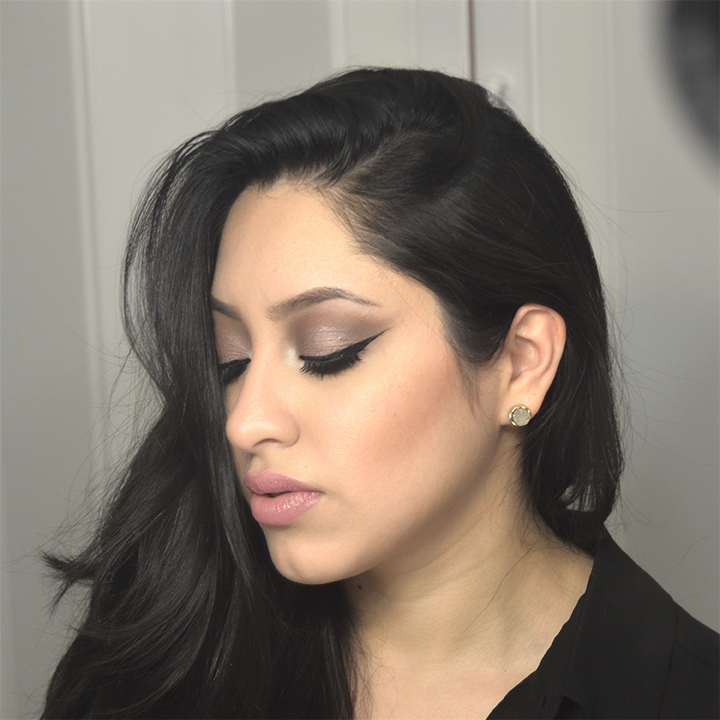
How to achieve this Taupe Smokey Eye
- MakeupbyLeslyj
- May 29, 2015
- 2 min read
Hi there my lovies, today i wanted to share with you this Pictorial. I hope you guys like it.
For me this smokey eye color is one of the most versatile looks there is.
Let's get started! :)
Step 1:
Pick a color, I chose the eyeshadow color "Cork" by Mac which i will apply three times.
Eyeshadow's first application

Eyeshadow's second application

Eyeshadow's third application

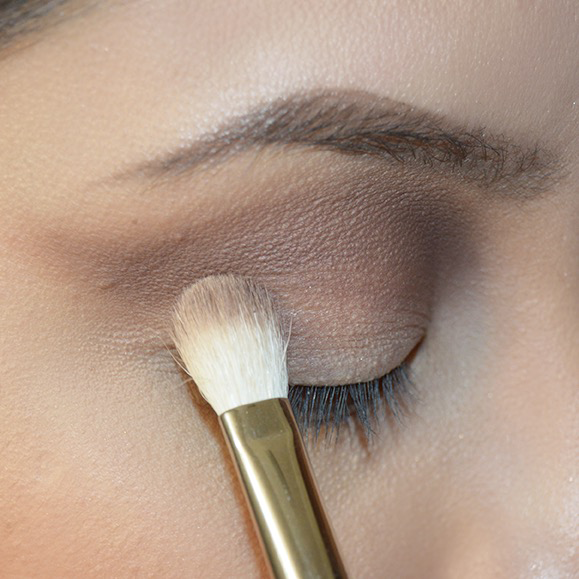
Step 2:
I chose the eyeshadow color "Embark" by Mac which i will blend together with the first eyeshadow i picked. There will be 2 applications using this eyeshadow.
Embark's eyeshadow first application
Embark's eyeshadow shadow application
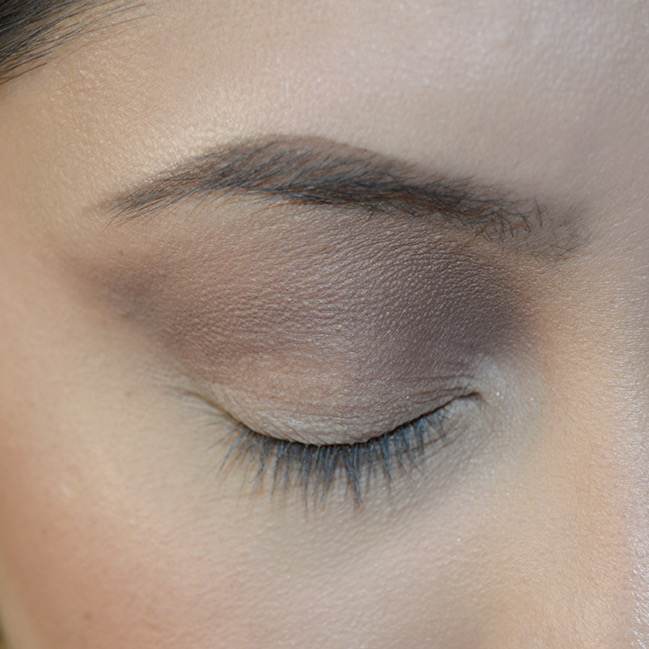
Step 3:
Eyeshadow "Satin Taupe" by Mac

Let's apply it to our Eyelid

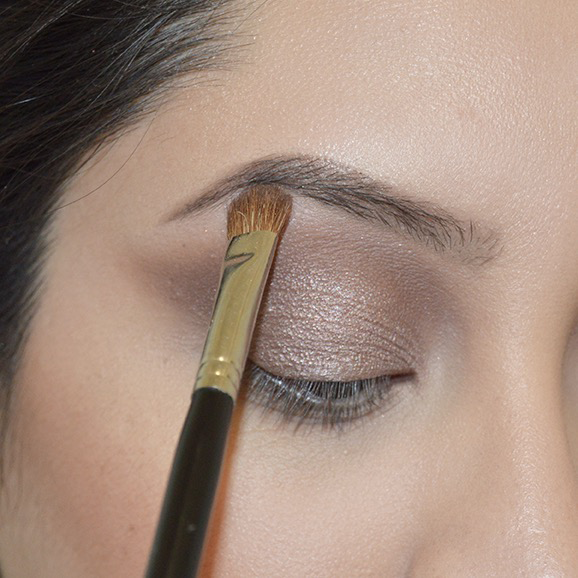
Step 4:
I chose the eyeshadow "Vapour" by Mac

We will now proceed to apply it in our Brow bone, this will give you a beautiful highlight in this area.
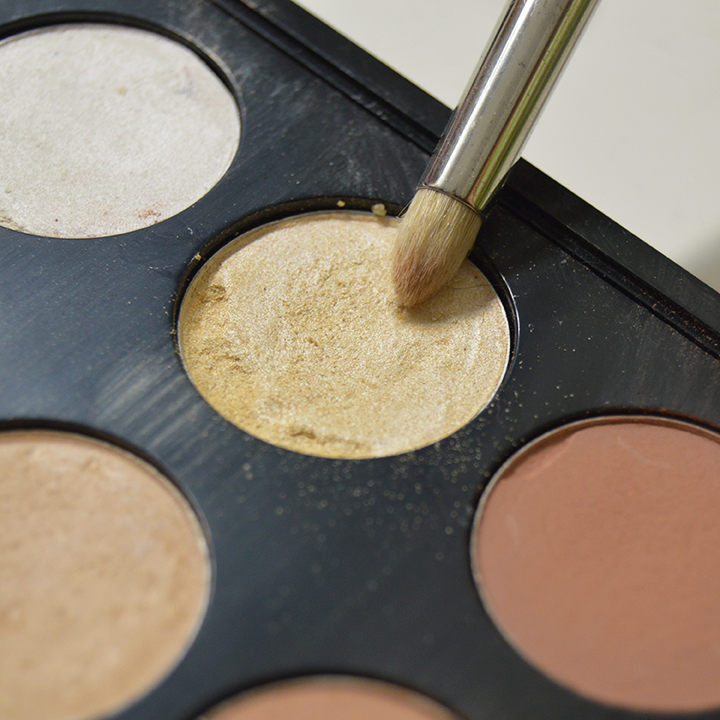
Step 5:
Next color I picked is called "Nylon" by Mac, which will be applyed in the inner corner of the eye. I used a brush #219 by Mac.
Step 6:
I used the eyeshadow "Embark" for the lower lash line

Step 7:
I used an Inglot brush #30T to create a Pin Up Wing.

Step 8:
I have a little trick that i learned from Makeup Geek which consist in using an gel eyeliner (in this case will be #77 by Inglot) and an Eye pencil.
Dip the pencil into the gel eyeliner, remove the excess and apply it.

Application

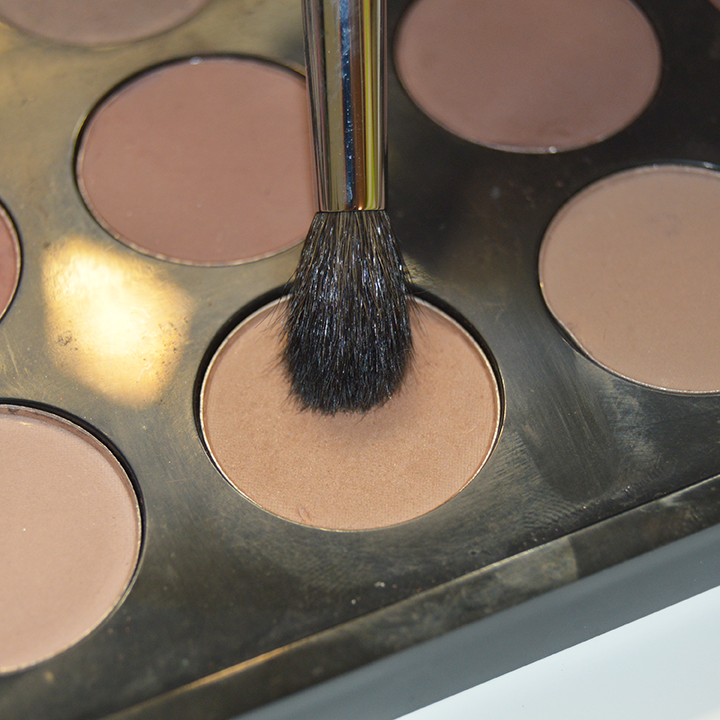
Let's now apply some blush with this Large Angled Contour Brush #168 by Mac
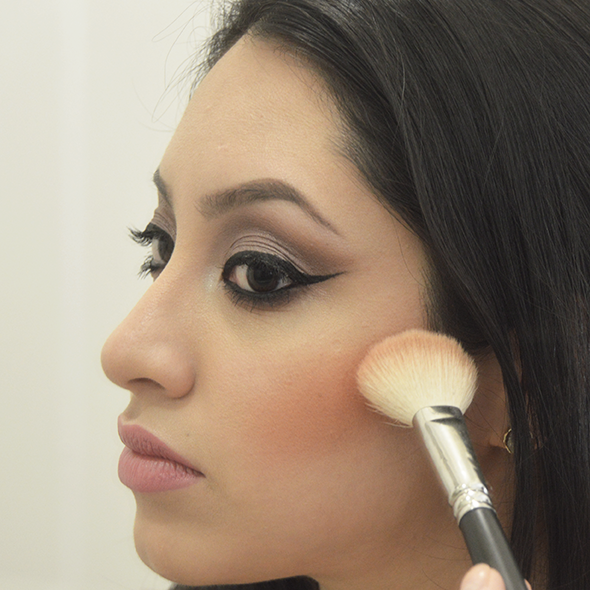
and... Ta-dá!
Here is a picture with products that I also used for this look.

*Thank you so much guys once again, I hope you enjoyed this Pictorial, leave me a comment with any question or suggestion regarding this or any other product.
I will see you guys in the next one. <3


Comments